Welcome to the beginner's tutorial! This will teach you some of the basics of the game.
Hover over the images to see them full size.
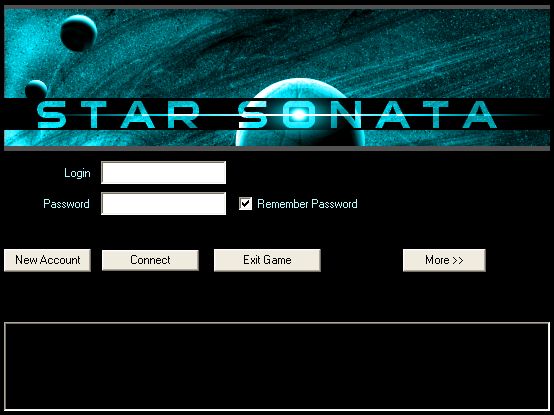
Step 1: Connecting
This is the connection screen. First time players will need to click on the "New Account" button. It will open a new box for you to enter some simple registration details. You will need to register before playing. The account will also be your Star Sonata forum account. The name you use for your account does not necessarily have to be the name of your player character.
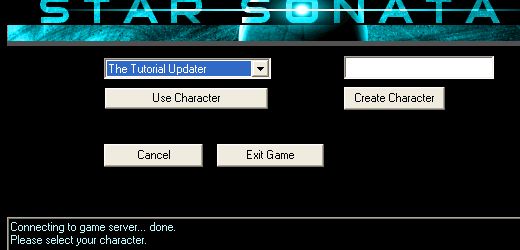
After logging in successfully the Character Selection screen appears in place of the login screen. The pull-down on the left allows you to choose an existing character. Here the character "The Tutorial Updater" is selected. First time players will need to enter a name and click the "Create Character" button. Each account has a maximum of 5 characters.
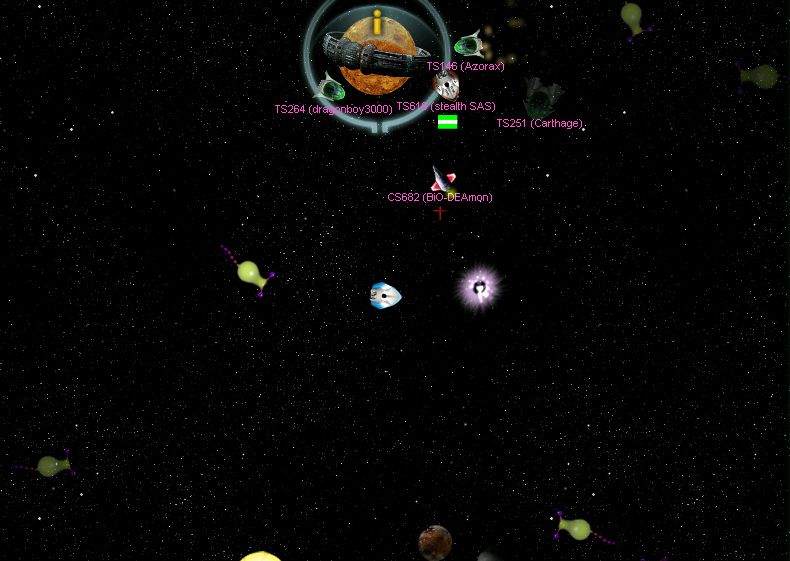
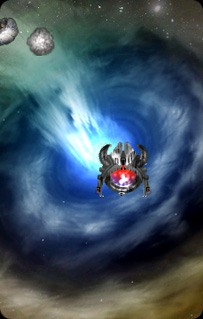
Here we are in the universe. That's your ship in the middle. You know it's yours since there's no name under it, and it always stays right in the middle of the screen. Those sickly looking ships near you are diseased larvae's and diseased flylet's -- pathetic species of space vermin fit only for extermination.
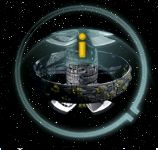
Step 2: Space Stations
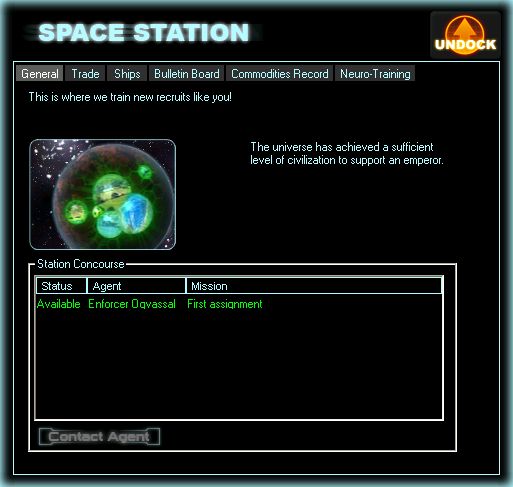
This is one kind of space station. There are many different types in the known universe, but you will soon learn the common ones. Oh, look! The base has a new mission for you.
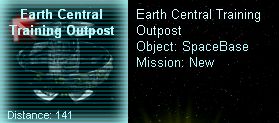
Click on the base and look at the object information that is under your inventory screen on the left. It says "Mission: New" which means there is a new mission that you can accept.
Press 'V' to autopilot to the base, then press 'R' to dock when you get there.
Step 3: Missions
Once you dock at the space base in the starter galaxy, you will see a mission in the "Station Concourse" box under the "General" tab.
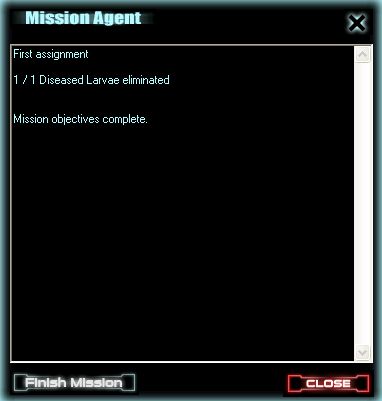
Double click the mission named "First assignment" and a window will pop up with the mission information. Read the mission details and press accept. For this particular mission, you are instructed to kill 1 Diseased Larvae and return to the station. Let's leave this station by hitting the big "Undock" button in the upper-right corner of the station window.
Once you have killed the Diseased Larvae you will see a message in event chat telling you that you have killed 1/1 Diseased Larvae. Return to the base and double click the mission again, read the information and press "Finish Mission". After completion of the first mission, a few more missions will pop up for you to do.
Step 4: Warping
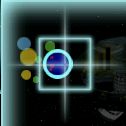
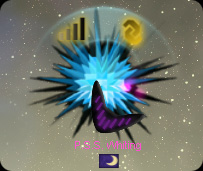
When you've done all the missions and had enough of killing (5 should level you up, which we recommend), it's time to head to the next tutorial galaxy. Let's find a wormhole, which is a naturally occurring phenomenon that allows intergalactic travel. Examine your radar, which should look similar to this picture. There will be a dark blue blob somewhere on it, which signifies a wormhole. Click on it, and you'll see a blue circle around it both in the radar and onscreen, if you're close enough.
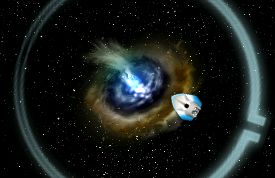
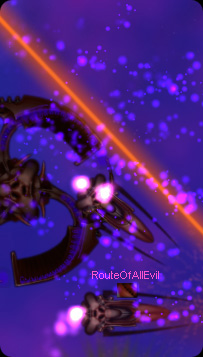
Once the wormhole is selected, you'll see it appear in your target area to the left. The red arrow indicated the direction you have to fly to intercept your target. You can fly with the control keys like before, or you can press 'V' to go there on autopilot.
Once you arrive at the wormhole, press 'F' to jump to a new galaxy.
Step 5: Trading
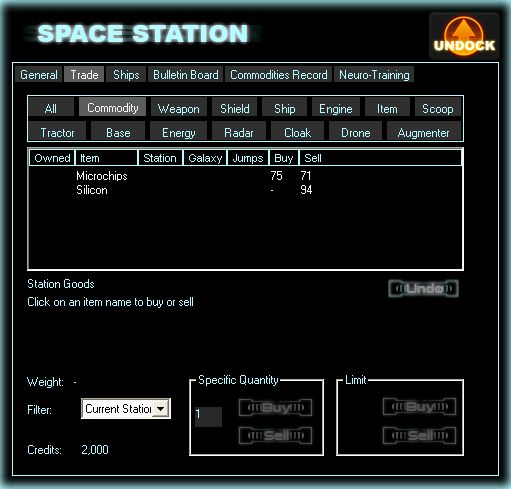
Dock at one of the two space bases in the galaxy. Once you dock, you'll see a screen like this pop up. Click over to Trade, and then click on Commodity. Commodities are trade goods, whose prices fluctuate from station to station, and especially galaxy to galaxy. You can make a lot of money by finding a good trade route with a nice price differential. In this station, Microchips are a bargain at 75 credits. I'm going to buy 19 of them, the most I can carry with my leftover hull space.
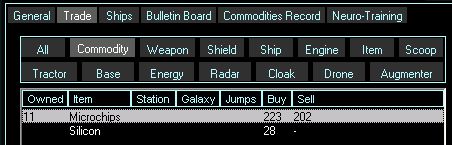
There's another space station in the galaxy where we can sell these Microchips. It looks like this. Move over to it and dock by pressing 'R'.
Over on the trade screen of this space station, we can see that Microchips are selling for 202 -- a nice profit. Let's sell all we've got. There's some Silicon for sale here, and it's for a cheap price. We can buy some, and then take it back to the first station to sell it. This is the best kind of trade route, where you can move goods in both directions. Of course, out in the real world, finding a good trade route is a little harder than this! But that's where the Commodities Record screen can help you.
Step 6: Upgrading
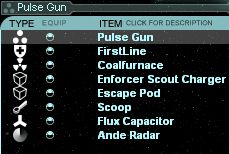
Once you've gone back and forth a few times, you'll have enough money to upgrade some of your equipment. You can start with a better weapon. The Pulse Gun packs more whallop than the IonCannon, surprisingly enough. Dock at any station (basic gear is available at all), and then click over to Weapon. Click on the IonCannon to select it. Hit the Sell button.
Click on the Pulse Gun, and then click the buy button. Assuming you've got enough cash, it will appear on your equipment list like the picture below. Notice the image in the EQUIP column. The Pulse Gun is equipped, which is what you want. The game will automatically equip new gear you bought if there's no other of that type already being used. If you bought the Pulse Gun before selling the IonCannon, however, you'll need to manually equip it by double-clicking on it.
Step 7: The Real World
When you think you're ready to brave the real world, and level 3 or higher, just exit this galaxy through the other wormhole. This tutorial should have given you a good starting point. Now it's time to explore!
If you have any more questions, ask in "Help" chat:
And you're off! This is one simple way to start out in Star Sonata. Building up money, levels, and equipment, you can get powerful enough to attempt some of the more challenging tasks like fighting tough pirates, exploring dangerous galaxies, and even building your own spacestations. Good luck!


 Tutorial